
6 Mistakes in Architectural Photography and How to Avoid Them
Architectural photography is a discipline that requires a mix of technical expertise, artistic vision, and knowledge of architecture. It's a field where attention to detail is paramount, where seemingly minor errors can have an outsized impact on the result. Understanding and avoiding common pitfalls is crucial for producing high-quality work that accurately represents design intent.
This article delves into what I’ve observed to be the six most common mistakes that often plague exterior architectural images, providing insights into their causes and solutions. To do this, I’ve drawn on over two decades of experience in the field, learning the hard way. I’ve made every mistake detailed here, large and small.
I’ve also made every image for this article as illustrations for the problems being described. I didn’t source examples from around the internet as in addition to violating copyrights, I don’t want to throw anyone else under the bus.
The mistakes I’m going to cover are specific to architectural photography, not photography as a whole. For example, general problems about exposure, noise, sensor dust, camera shake, or color balance won’t be discussed here. There is an assumption that the basic skills are already under control.
We’re not going to cover aesthetic decisions that are ultimately a matter of taste. This includes questions like how wide to shoot, how many people to include, what time of day, and so on. Photography is an expressive medium, and I have no intention of discouraging that.
Whether you’re an aspiring architectural photographer, or someone who commissions images for a design firm, my goal is to help you understand and recognize a cluster of common technical errors. If the suggested corrective measures are taken, it will help to elevate your projects.
Building in Full Shadow
While some amount of shadow can add visual interest to an image, allowing the primary elevation of a building exterior to fall entirely into shadow is a critical error. To be clear, this is different from choosing to photograph on an overcast day, where diffuse light illuminates all sides of the building.
Instead imagine a bright sunny morning where the sun is shining from the east, illuminating west-facing elevations. Rather than photographing the well-lit west-facing side, we instead photograph something on the east-facing side, which is completely in shadow. This is the most fundamental lighting mistake in exterior architectural photography, one that can instantly tank the image.
A facade cloaked in shadow loses its dimensionality and vibrancy. The interplay of light and shadow is essential for revealing texture and depth in architectural subjects, with light giving form to planes and volumes, and shadows adding drama and emphasizing textures. When an entire elevation is enveloped in darkness, all of these nuances are lost, leading to a depiction that ultimately undermines the subject.

The same building photographed in shadow (left), and in light (right).
A building in full shadow can also appear unwelcoming, suggesting a lack of activity and life. This lack of light can evoke a sense of mystery or foreboding, which could be appropriate in some contexts but not when attempting to create something that flatters the subject. For instance, a modern museum that gleams in the sunlight would appear undistinguished if photographed entirely in shadow.
The ideal solution to avoid the full shadow problem is planning and preparation. This involves researching the building's orientation, using charts or apps to predict the path of the sun, and scheduling the shoot for a time when the primary elevation is bathed in favorable light. While this requires effort, planning ahead is the most effective way to ensure optimal lighting conditions and capture the building well.
In situations where revisiting the site at a more favorable time isn't feasible, alternative strategies can mitigate the impact of the poor conditions. These should be considered as secondary options when planning is not possible. First, one could seek other perspectives or angles where light might be interacting with the building in interesting ways. This could involve capturing details without the sky in the frame, or finding other elements that are illuminated.
In some cases, supplemental lighting can be used as fill to create a more balanced exposure. However, this can be challenging with exteriors, as it requires setting up and using powerful lighting equipment. Additionally, one must consider the color temperature of the supplemental light to ensure it blends with the ambient light to avoid creating mixed lighting situations.
Ultimately, the photographer must possess a nuanced understanding of lighting. Whether through careful planning, problem-solving, or a combination of both, working with light and shadow is essential for producing quality images.
Vertical Convergence
One of the most common and problematic errors in architectural photography is the mishandling of vertical lines. In almost all cases, the vertical edges of a building should be rendered as parallel in the image. They should not appear to converge towards a vanishing point at the top or bottom of the image. This distortion is particularly noticeable in tall buildings, where the effect is amplified.

Vertical convergence (left), and the same view corrected in-camera (right).
This creates two main problems. First, it contradicts our normal perception of buildings. We don't typically see vertical lines converging unless we're standing very close to a structure and looking directly upwards. We instinctively understand that buildings are upright and solid, with parallel verticals. Images that depict buildings should align with this perception, not defy it.
Second, vertical convergence shatters the illusion of two-dimensional representation. It's like an actor breaking the fourth wall, reminding the viewer that they're looking at an artificial construct. This disrupts the immersive quality of the image and distracts viewers away from the subject.
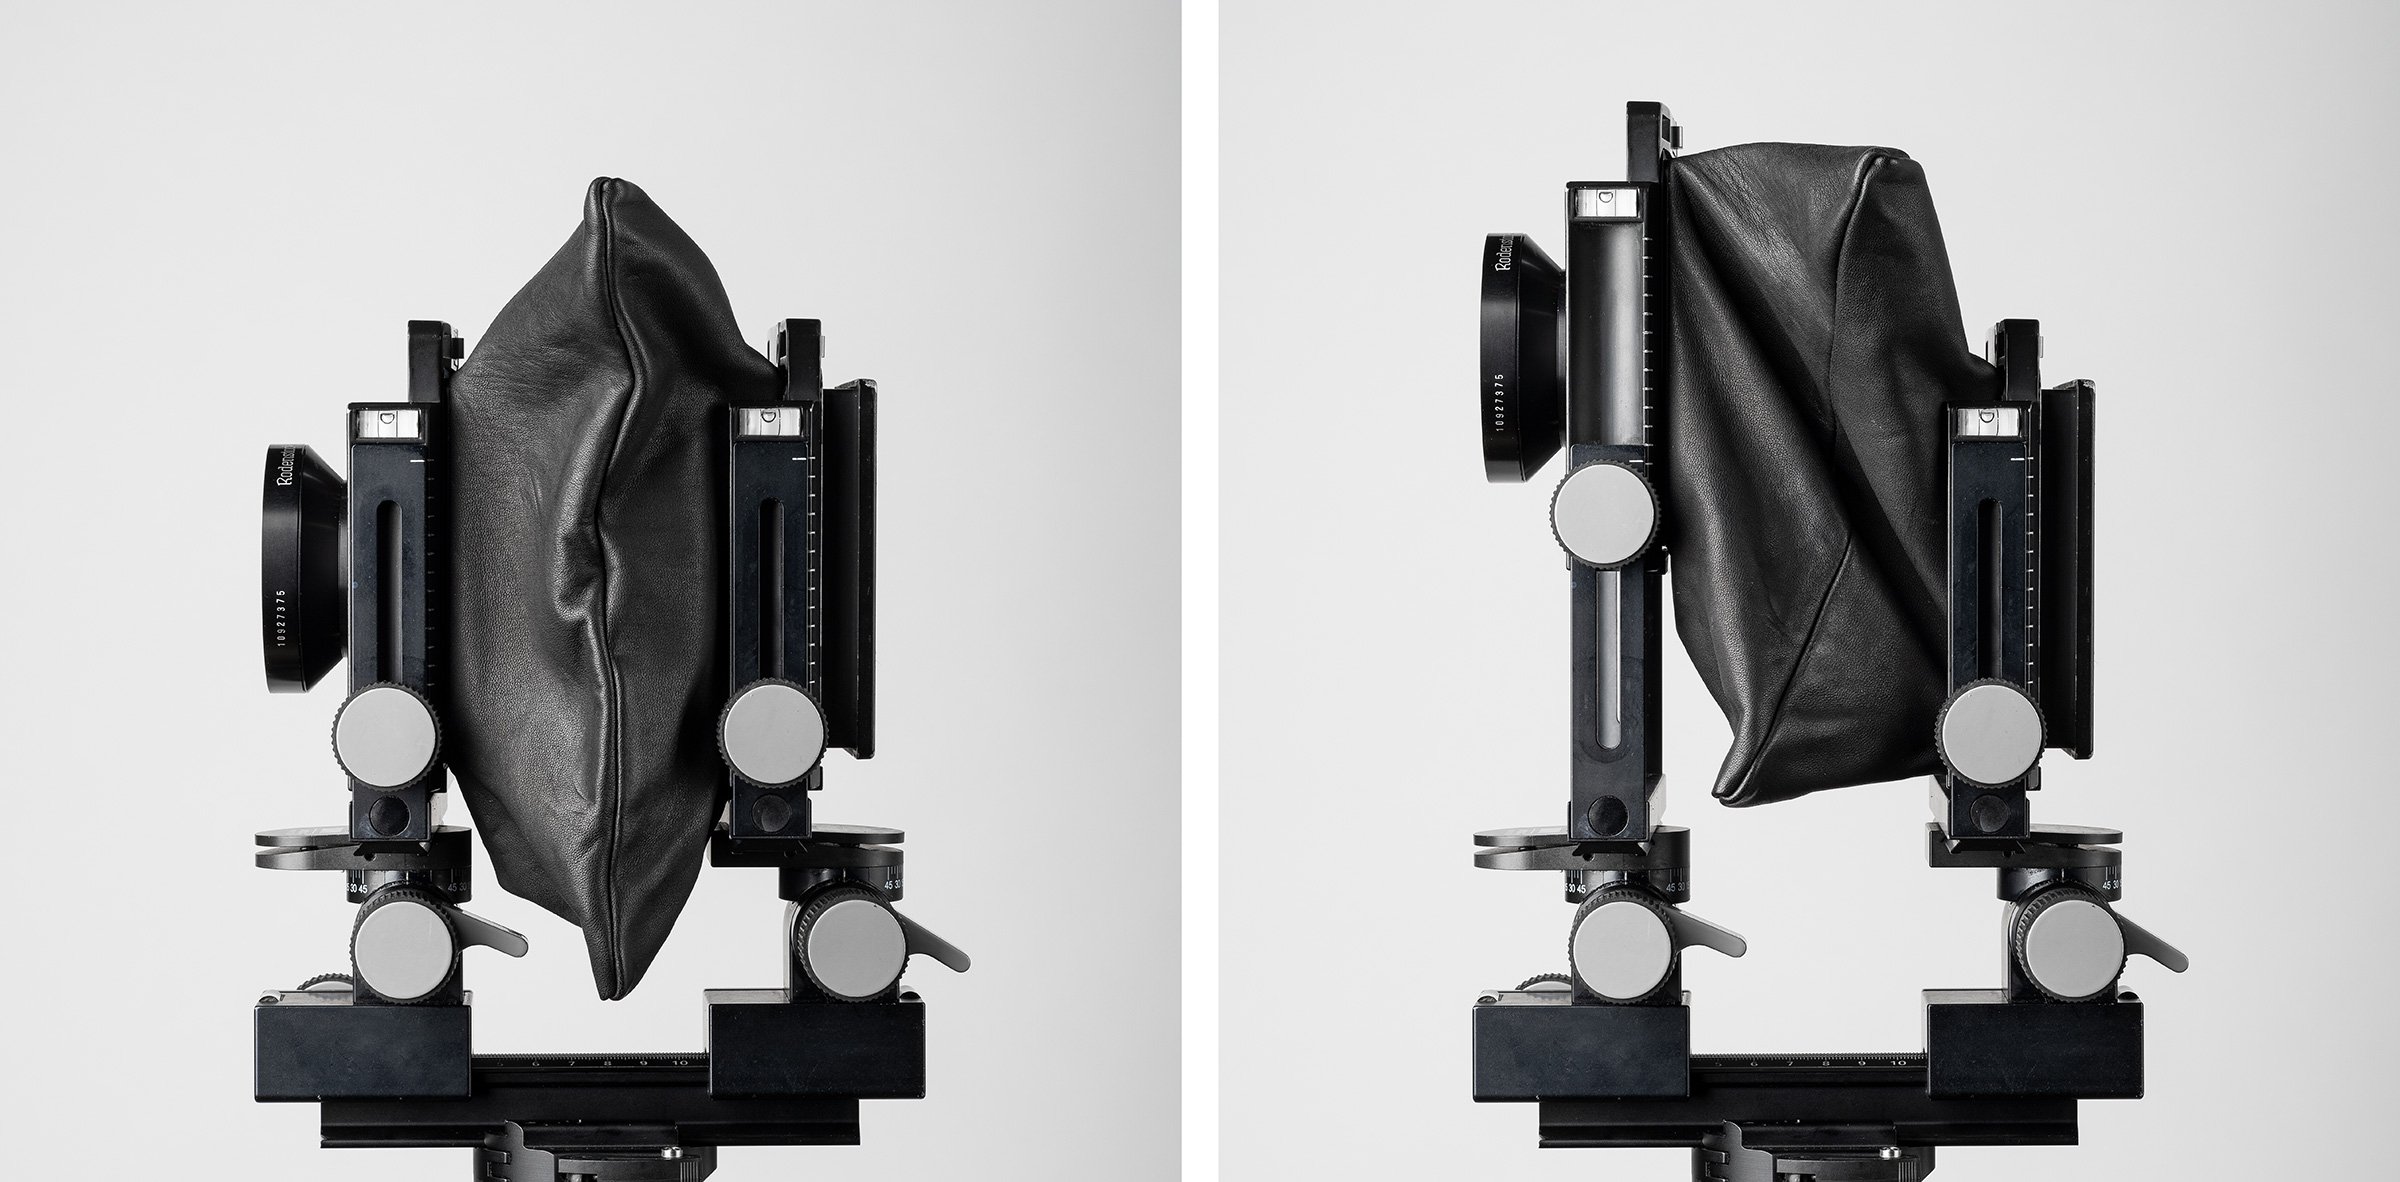
Vertical convergence is corrected using shift. Camera at neutral position (left), and with upward shift, or rise, applied (right).
The root cause of vertical convergence lies in the misalignment of the camera's sensor plane relative to the subject. If the camera is pitched upwards or downwards, the sensor is no longer parallel to the building, resulting in the converging lines.
The solution is to use a tripod and ensure that the camera is perfectly level on all three axes. This is best achieved with a camera system that allows for independent movement of the lens and sensor, such as a view camera or a perspective control lens. These enable precise adjustments to correct perspective without pitching the camera.

Vertical convergence used intentionally for dramatic effect.
While software like Capture One or Adobe Camera Raw offer tools to correct convergence in post-production, it's always preferable to address the issue in-camera if it is available as an option. This helps with visualization, maximizes image quality, and avoids potential issues that can arise from excessive transformations.
All that said, sometimes there is a good reason to photograph from the ground looking up. After all, it does represent a common vantage point that is experienced looking at tall buildings in cities. If this is going to be done, the camera should be pitched up at least 45 degrees. The more exaggerated and severe the effect, the more it will read as intentional. These types of images also work better when the ground plane is cropped off.
Horizontal Convergence
Horizontal convergence is essentially the same problem as vertical convergence, but instead affecting horizontal lines. This is particularly relevant in one-point perspective compositions, where horizontal lines need to remain parallel across the image. When they converge towards a vanishing point on either side of the frame, it disrupts the feelings of symmetry, balance, and order that one point perspective images generally aim to evoke.

Horizontal convergence (left), and the same view corrected (right).
Unlike vertical convergence, which contradicts our spatial perception of how buildings work, horizontal convergence is a disruption of an imaging convention. The closer the photographer gets to achieving a true one-point perspective, the more jarring any horizontal convergence becomes. It can be a subtle but noticeable flaw that can diminish the effect of one-point perspective images.
The key to minimizing horizontal convergence lies in meticulous camera alignment. Carefully ensuring the camera is level and aligned with a prominent horizontal line on the building will mitigate the effect. Many cameras offer grid lines and level indicators in the viewfinder or on the LCD screen to assist with this alignment. If these aren't present, the frame edges can be used as reference lines.
While software correction is possible to a certain extent, it should be used only for fine tuning. Excessive transformations can lead to unrealistic proportions and distortions, and this is especially true when correcting horizontals.

Camera at neutral position (left), and with a right side shift applied (right).

Rear of view camera at neutral position (left), and with a right side shift applied (right).
View cameras offer a distinct advantage in this regard, as they allow for side shift. This function allows for lateral adjustments of the composition without altering the camera's yaw, effectively correcting horizontal convergence in-camera. For those using 35mm format cameras, a similar effect can be achieved by using a wide lens and then cropping the image in post-production to achieve the desired composition.
Uncertain Perspective
Uncertain perspective occurs when a photographer attempts a two-point perspective shot of an entire elevation from a vantage point that inherently calls for a one-point perspective. This typically occurs when the photographer is positioned in a way that a single elevation of the building is visible, making it impossible to see the second vanishing point.
In other words, the photographer is trying to create a feeling of depth by orienting the camera to create converging lines, but because only one side of the building is shown, the effect falls flat. The viewer expects to see the building recede towards a second vanishing point, but that visual cue is missing.
The absence of a secondary elevation to anchor the building in the image results in a backlot effect, where the structure appears flat and artificial, like a stage prop. This undermines the sense of depth and dimensionality that would otherwise make the building feel more realistic.

Uncertain perspective, a full two point perspective view with only one elevation visible.
When we see a building in real life, we understand its three-dimensionality because we can perceive multiple sides and angles in three dimensional space. A two-point perspective attempts to recreate that perception of depth in a two dimensional image, but it requires showing at least two sides of the building.
The remedy for uncertain perspective lies in deciding between a one-point or a two-point perspective shot. If the vantage point only allows for a single elevation to be visible, the photographer should commit to a one-point perspective by aligning the camera parallel to the building's facade. This will emphasize the flatness of the facade and create a sense of stability.

Two alternatives to uncertain perspective: committing to a one point view (left), or a two point view (right).
Alternatively, if a two-point perspective is desired, the photographer should reposition to include a portion of the secondary elevation in the frame. This will add depth and context to the image, anchoring the building in its surroundings. By including a second vanishing point, the image will more accurately reflect how we perceive three-dimensional space.
Another solution would be to selectively crop a portion of the elevation, as this would eliminate the backlot effect. By focusing on a smaller section of the building, the photographer can create a tighter, more abstract composition that doesn't rely as heavily on perspective cues. This approach can be effective for highlighting interesting sections and details.
Proximity Distortion
Proximity distortion is my euphemistic way of describing the common scenario where the photographer positions themselves too close to a building. This closeness, often coupled with the use of a wide angle lens, distorts the building's proportions. Ansel Adams referred to one of the telltale signs of this problem as the ships prow effect, where the lines of a building’s cornice recede sharply downward, its upper stories exaggerated as if gazing up at the prow of a ship. The building's proportions become totally unbalanced, making it appear top-heavy.
There's a general tendency to want to stand as close as possible to a subject when photographing it. Buildings are counterintuitive in this way. Often the best option is to create distance between oneself and the subject, and either let it sit in a wide contextual frame, or use a longer lens to compress it into the foreground.

Proximity distortion (left), the same building from a greater distance with compression (right).
The exaggerated scale of a looming building can create an oppressive atmosphere, making the viewer feel minute and insignificant. This can be particularly problematic when photographing buildings intended to evoke feelings of harmony and balance, as the distorted perspective can undermine the intended emotional impact.
Proximity distortion can stem from a few factors. In one instance, there is plenty of space to move backwards, but it is not being used. Whenever possible, it’s ideal to get further away or find a different vantage point that allows for a more proportionally balanced representation of the building. This might involve crossing the street, finding a higher vantage point, or simply taking a few steps back to create a more comfortable distance between the camera and the subject.
Sometimes there is simply no space to physically move away from the subject, a problem familiar to anyone who has tried to photograph tall buildings in large urban areas. If repositioning isn't possible, one could consider using a drone, although this has an entirely separate set of pitfalls. Yet another alternative is to concentrate on a smaller portion of the subject and create a tighter composition.
Or, one can just embrace the effect. In some cases, the distorted perspective can be used in a positive way. This might involve intentionally exaggerating the scale of a building to create a sense of drama or power. The effect can be used to heighten a sense of imposing monumental scale. It could be used to clearly show that the building is on a narrow street in a big city.
However, this technique should be used judiciously and with a clear understanding of its potential impact on the viewer's perception. When this effect is intentional, it is just another tool in the toolbox. When unintentional, it can contradict the communicative efficacy of the image.
Shortsiding
In architectural photography, it’s crucial to consider how lighting and composition interact to guide the viewer and emphasize key aspects of a building. I use the term shortsiding to describe a specific scenario where this interplay is mismanaged. It occurs when the most prominently lit elevation of a building is not the one given compositional priority.
To understand this concept, let's first define the subject elevation. This refers to the side of the building the photographer wants to emphasize. This is not any particular elevation like the front or back, rather it’s the one that is the subject of a specific image. A successful composition involves strategically positioning the subject elevation within the frame and using lighting to guide attention to it.

Example of shortsiding (left), where the camera position emphasizes the elevation in shadow. The same building from a better vantage point (right).
Shortsiding disrupts this visual harmony by misaligning lighting and composition. The viewer is drawn to the brightest areas of an image. When the most illuminated elevation is not the one emphasized by the composition, it leads to confusion and a lack of clarity. The viewer may be unsure where to focus their attention, diminishing the overall impact of the image.
This principle is analogous to the concept of short lighting in portrait photography. In portraiture, short lighting illuminates the side of the face further from the camera, creating a shadowy, dramatic mood. It's not a mistake in that context, but the term has been appropriated because of the similarity in the positioning of the lighting relative to the subject.
To avoid shortsiding, carefully consider the relationship between lighting and composition. The photographer should ensure that the elevation intended for emphasis is both well-lit and given compositional prominence.
This might involve repositioning to find a more favorable angle, waiting for the light to change, or adjusting the composition to better align with the lighting conditions. When the subject elevation is both well-lit and prominently positioned, it creates a clear visual hierarchy and guides the viewer’s attention effectively.
Conclusion
This article has explored six common mistakes that can undermine the quality and effectiveness of architectural photographs. If you’re a photographer, or if you work with photographers on your campaigns, by avoiding these common mistakes you can produce images that communicate clearly and effectively. Remember, the goal is not just to document a building, but to create bodies of work that amount to compelling visual narratives that demonstrate the complexity and ingenuity of architectural designs.